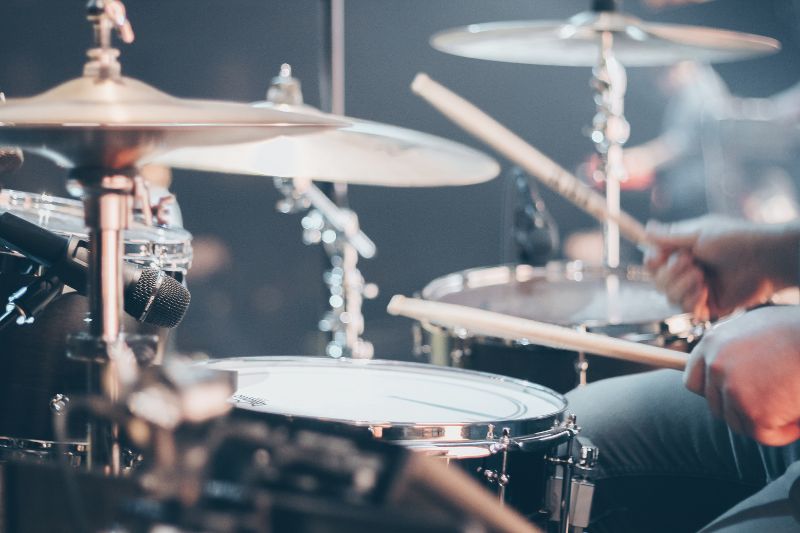
How to Record Drums – The Ultimate Guide
This is your no-nonsense guide to recording drums. We will explain the different types of drum mics that you can use and different approaches to recording.
We will also explain how to get the signal to your computer so that you can mix and process your recordings.
What do you need to get started with recording acoustic drums?
- A drum mic kit or individual drum mics
- A well-tuned drum set
- A measuring tape for equidistant mics (optional)
- A low-noise environment, preferably with soundproofing
- Audio interface (one input for each microphone)
- Recording software (a free DAW like Cakewalk, GarageBand, or Waveform will suffice)
*If you use an audio interface, then you don’t need a physical mixer. You can do all the mixing on your recording software. Audio mixers only really add value if you buy a high-end mixer with lots of outputs.
Contents
Step 1: Determine your mic setup
Don’t wait until you have the perfect mic setup, you may be able to get decent recordings with a minimal number of microphones.
It’s easy to get lost in a sea of conflicting information about microphones when it comes to drum recording. Use the following information to determine how many mics you need and in what placement.
In this article, we talk about the basic tried and tested ideas that will prove to be a good starting point for those starting. Once you get a grasp of the basics, you are always free to adjust and experiment to find your ideal sound.
The video above demonstrates how you can use different setups to get the best tone from multiple mic configurations.
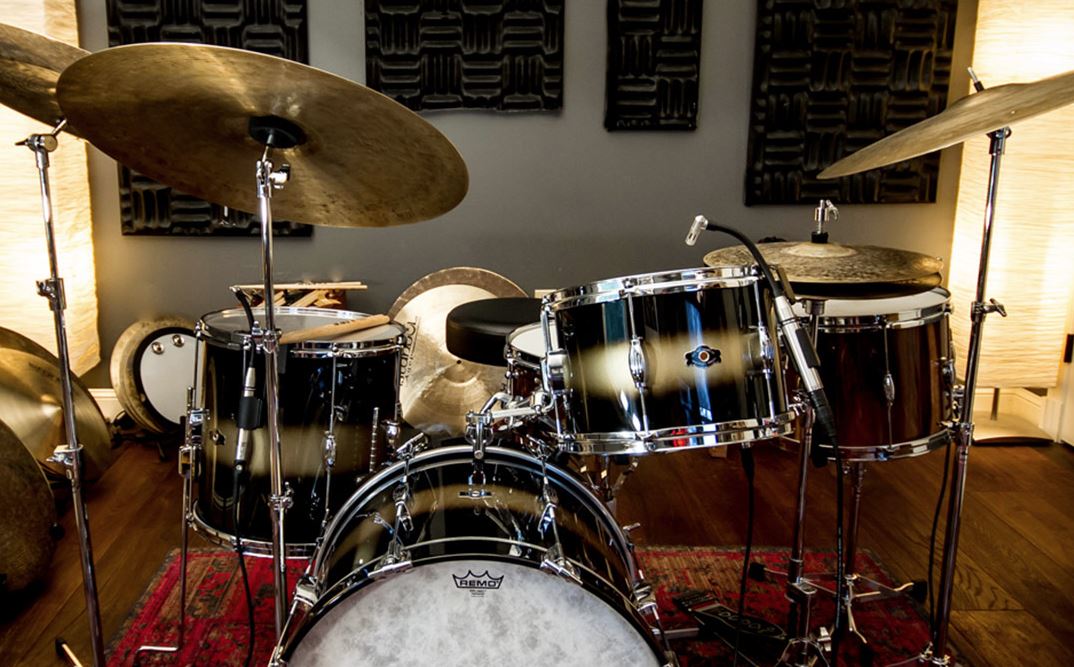
If you want to go for a full drum recording, it’s great to use eight mics to record the drums if possible. But recording engineers and artists have managed to get a great sound from one, two, and four mic setups as well.
Using a 4 mic setup, for instance, is not just a budget-friendly consideration; many studio engineers vouch for minimalist recording techniques, especially for certain genres.
It is common to see drums being recorded in pro-studios with a humble 4 mic setup that consists of an overhead pair with a dedicated kick drum and snare microphone. Either way, you should pick on a configuration that suits your genre and budget. You can gradually expand into a custom collection of great microphones as you progress.
Step 2: Different types of mics to use
Kick Drum
Kick drums are usually recorded with a purpose-designed dynamic microphone inside the kick drum. Instead of a generic mic like SM58, opt for a special kick drum dynamic mic as it is designed to handle the low-frequency attack of the kick.
You can easily get away with just using ONE microphone inside the kick drum. However, if you want to capture extra low end, then you can place a microphone on the outside of the kick.
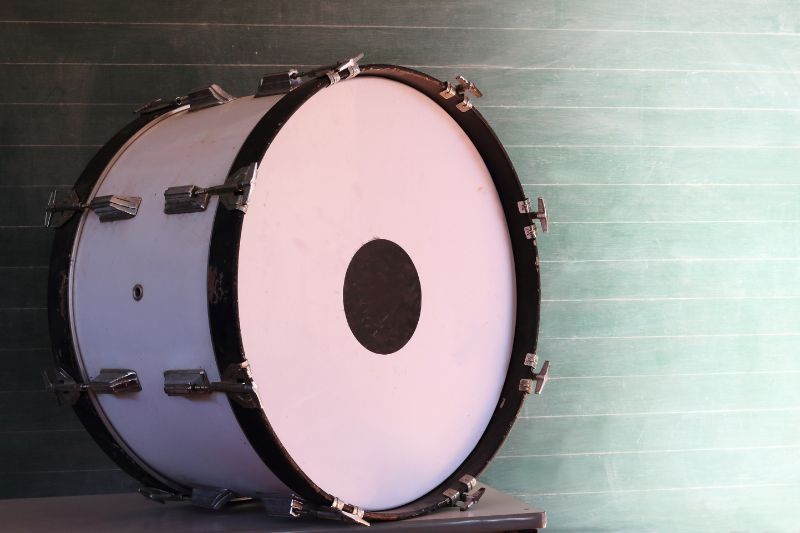
Inside Kick Drum Mic
When recording a bass drum, you need the front head to have a port hole. This is simply a hole cut in the front of the resonant head of the bass drum, which allows a drum mic to fit through.
If your bass drum head does not have a port hole, you can cut it out yourself. So you don’t necessarily need to buy a new drum head.
The simplest way to approach recording the kick is to place a mic inside the kick, pointed towards the beater. This is called an ‘inside mic’. The distance from the beater will influence the attack.
The closer you are to the beater, the more you will hear the mid-range punch and attack. As you move away from the beater, you will hear less attack and more low-frequency sounds (a rounded tone). If you are using only one mic (inside mic) then find a sweet spot where the attack and warmth sound balanced.
If you can afford to use two mics, then you can put the inside mic closer to the drum head to get a bigger beater hit.
Mic Recommendations for Inside Kick Drum
The Shure Beta 52A or AKG D112 mics are both very popular and affordable choices for mics to place inside the kick drum.
Outside Kick Drum Mic
Optionally place a microphone, outside of the kick drum quite close to the outside head but reasonably far away from the porthole to minimize interference from the wind blowing out of the kick drum.
A good quality ribbon microphone can be used for this, or you can
use a purpose-made sub kick drum mic to capture the low end.
Mic Recommendations for Outside Kick Drum
The Royer R-121 ribbon mic is a great option, but it can be pricey. The DW The Moon Mic Cardioid Dynamic Kick Drum Microphone is a great purpose-built mic for outside the kick drum which also includes a stand.
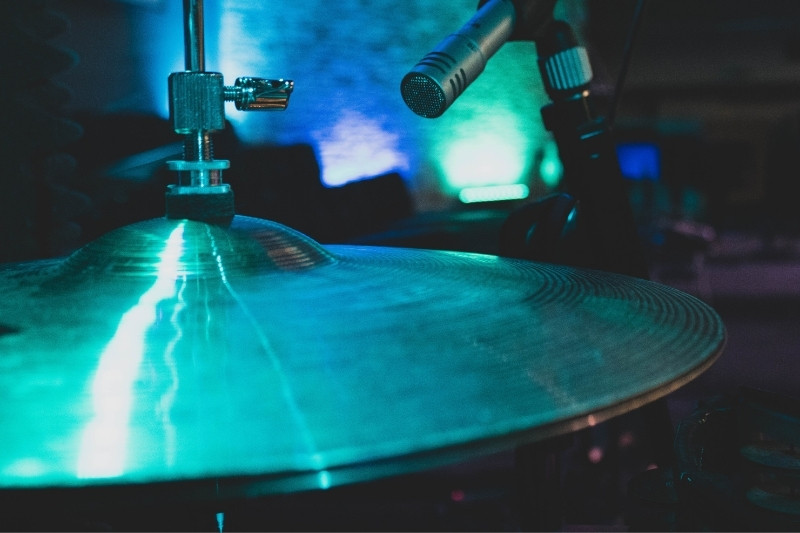
Hi-hat Mic

Position a pencil condenser or an SM57 4 inches above the hi-hat (pointed downwards). The exact placement will depend on the placement of the other mics that you have used.
The only thing that matters is that the tip of the mic should not be too close to the hi-hat and it should be placed far enough so that it doesn’t interfere with your playing.
Ideally, you want to use the angle and placement to avoid phase issues with the overheads and to avoid as much snare bleed as possible. A dynamic mic is usually sufficient but it may sound a little brassy or mid-focused.
Condensers will sound bright and crisp (think lots of high-end detail) but they will also be more sensitive to the sounds from the entire kit.
Hi-hat mic recommendations: Neumann KM184 or Shure SM81.
snare mic(s)
The close mic technique for recording the snare is simple, punchy and it works well for most genres.
It is also a great way to capture all the details and nuances of your playing, like ghost notes, soft hits, dynamic snare drills, etc.
You can close-mic a snare with one or two mics.
The SM57 is a great option for a top mic for the snare. Set the top mic at the edge so that it doesn’t interfere with your playing and keep it 4 to 5 inches away from the rim of the snare to capture the fullness of the hits.
Anything less than 4 will sound dull and bland. The right mic angle will depend on your room and playing style but with a little experimentation, you can easily find something that helps the snare sit in the mix exactly as desired.
While you can get away with just a single dynamic mic on top of the snare, I highly recommend a two-mic setup with one on top and one below the snare.
The top mic records the attack and the bottom mic captures the ‘fizz’ of your snare. You can use another SM57 or opt for a small diaphragm condenser for the bottom mic. Place it roughly two inches away from the center of the bottom snare drumhead and make adjustments based on what you hear.
As long as you are careful with phase issues, a two-mic setup will create rich and versatile possibilities.
Snare Drum Mic Recommendation: Shure SM57 – A classic, affordable mic that does a great job.
Tom Mics
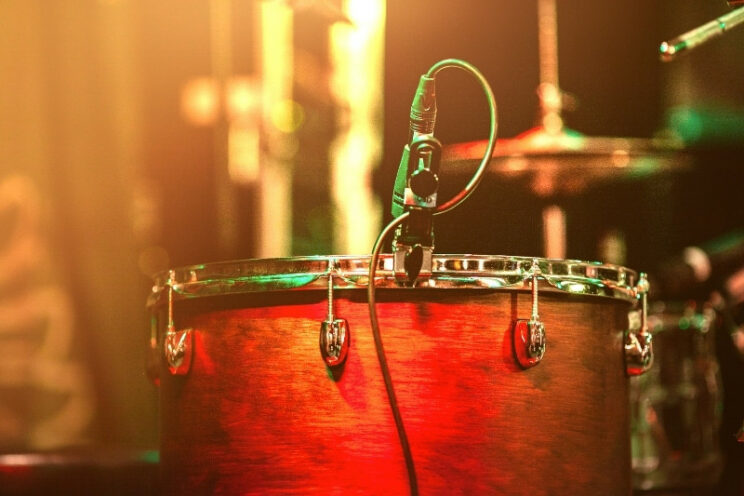
Make sure your toms are tuned and your drum heads are not ‘spent’ before you proceed to mic your drums.
If you want a good solid thump sound from your toms then dynamic mics work great. If you want a warmer, fuller sound then go for considering mics.
Having one mic per tom will give a fuller drum recording sound with a lot more options for you to process and mix the recording.
Generally, you can get good results by using a 45-degree angle and by placing the mic 2 or 3 inches above the drum head.
The attack and sustain depend on how close the mic is to the skin. As you move it closer, you will get more attack but lesser sustain (ring). As you move it further away, the ring will increase but the attack will decrease.
Tom Mic Recommendation: Sennheiser E604.
Overhead Drum Mics
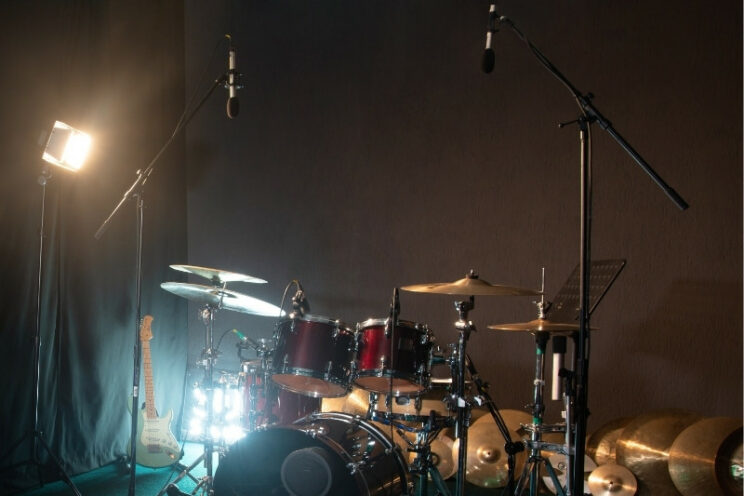
The overhead mics play a very important role in determining the quality of your drum recording. There are many approaches to overhead miking that utilize a variety of mic placements and distance to achieve distinct tones and resonance.
Overheads are usually used to record the entire kit alongside the cymbals. Room acoustics can play a big role in the recording quality of these.
For this technique, you can use a matched pair of large or small diaphragm mics. Place one mic 3 feet above the snare and another 3 feet above the floor tom. Use a measuring tape to ensure equal distance or it may cause phase issues.
The farther the mics are from the kit, the more they will sound like rooms mics. Conversely, the closer they are, the less room sound will be captured. Once you get a hang of the basics, you can invest in a mic-clip and explore the ORTF technique, XY technique, and Glyn Johns technique.
Overhead Mic Recommendations: Neumann KM 184 Small Diaphragm or Rode M5-MP Matched.
Audio Interface or Mixer?
Some drummers get excited about recording their drums and go out and buy a budget mixer.
You just need to buy a good quality audio interface with enough inputs for all of your microphones. All the mixing can be done on your computer.
For example, this Focusrite Scarlett 18i20 is a very popular option (check out our article on the best audio interfaces for recording drums for more info)
You get separate outputs for each channel, and then you can mix and process all of those channels in your recording software however way you want.
If you’re on a budget, then buying a low-end mixer will actually do more harm than good.
Often, the quality of these mixers might not be very good. Also, they may only have a stereo output (combining all of your microphone sounds together), which will mean that you will not be able to manipulate and process the audio from your separate mic tracks later on.
Of course, if you have the budget for a high-end mixer then these can add extra value and many pro recording studios like to mix on high-quality physical gear. If you’re opting to get a mixer, just make sure that they have enough outputs so that you’ll be able to further process to track after it’s been recorded.
Recording Drums To Your Computer (using an Audio Interface)
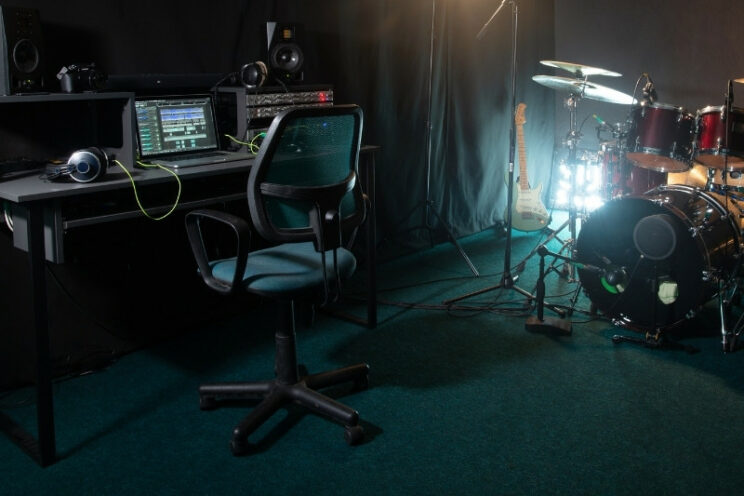
Connect the drum mics to your interface using XLR cables. Then in your recording software, create individual audio tracks for each channel. Then press the record button!
For more detailed steps see below.
- Connect XLR cables from your microphones to the inputs on your audio interface.
- Then connect the audio interface to your computer. This is usually done by USB.
- If you have a good audio interface then it should allow for multi-track recording, which will mean that the individual channels from your interface can be processed separately on your computer.
- Open up your recording software and create one audio track for every microphone that you are using.
- Set the channel inputs on your audio tracks, e.g. audio track 1 to channel 1 on your mixer, audio track 2 to channel 2, etc.
- Arm the tracks for recording, usually press the red button next to the audio track
- Press the record button in your audio software.
- Start playing the drums, and you should see an audio signal coming through to your recording software.
If possible, name your tracks to make sure that you can easily identify which microphone that is (e.g. Kick, Snare, hi-hat, overheads, etc)
Common issues
Snare Buzz
One of the most common problems drummers have to deal with in a studio is a so-called snare buzz. Sometimes this can be very frustrating and getting rid of it can take hours. Fortunately, more experienced drummers are already familiar with the group of potential reasons for such troubles.
In most cases, the problem is in bad snare wiring. The space between the ends of the snare wire sets and the drum shell should be even and that’s the first thing you should check. Also, you can rotate the snare, to keep wires away from toms. Of course, you can always purchase higher-quality snare wires, it could help.
Tuning
Bad tuning of the drums can cause a lot of trouble. Not only that you have to tune your drums to a certain pitch, but also to keep in mind the relation between different drum parts.
This primarily refers to the relation between snare and toms. If toms are at the same frequency range as the snare, it may also cause a lot of buzzes and other unwanted noise. Keep that in mind when preparing for studio sessions. A drum tuner can come in handy for this.
Room Acoustics
Professional studios usually have rooms designed especially for drums, which can add a lot of character. On the other side, things probably won’t be that great in your home studio. The room shape, size, and materials can have a different impact on sound characteristics.
So, relying on room miking too much isn’t always the best choice. In most cases, home studios are small and cube-like, which can cause a lot of troubles with low ends and these things can’t always be fixed with a mixer.
Phasing
Since drums use multiple mics nearby, phase cancellation is one of the most predominant issues when it comes to drum recording. In simple words, phase cancellation occurs when the signal of two out-of-sync mics picks up the same sound.
So, while one wave of a mic is pushing or peaking, the other wave (from another mic) is pulling or dipping. This lack of synchronization causes the resulting sounds to cancel each other, which results in a weak signal.
For instance, your snare mic and overhead mic are nearby but the sound of hitting your snare reaches the snare mic sooner than the overheads. This causes the waveform of each mic to cancel each other and the resulting sound seems to lack punch and definition.
The best way to deal with phase is to use an appropriate distance ratio like the 3:1 recording technique. Since the drums use multiple mics, some level of phase is inevitable even with good placement. But you must take every possible measure when you set up the mics to ensure as little of it as possible.
Dynamic vs Condenser Mics
Dynamic microphones are very good at capturing loud sounds, so they are great for many purposes when miking drums, though they are not as sensitive as condenser mics.
Condenser microphones are much better at capturing the warmer and more subtle sounds. They are much more sensitive microphones and they can generally pick up room reflections and acoustics much more than dynamic mics, for better or for worse!
You will need phantom power in your mixer or audio interface to power your condenser mics!
Dynamic microphones do not need to be externally powered to work. You simply hook in an XLR cable into your mixer or interface and away you go.
Polar patterns and Diaphragm shape
These are other aspects you should consider when it comes to microphone types. Polar patterns are important because they determine how the mic will pick up the sound. For example, cardioid mics will pick only the sound that is in front and block everything else.
Super cardioid mics have an even narrower area of sound picking. Omnidirectional mics will pick the sound from all directions, while the figure-8 pattern blocks the sides and picks the sound from front and back. Of course, there are many more patterns, but these are the most popular ones.
A diaphragm is one of the most important parts of a microphone. Once it is in touch with a soundwave, it starts to vibrate and changes sonic energy into electricity.
The size plays an important role here, as it has a huge impact on sound characteristics, on things like sensitivity, dynamic range, internal noise, sound pressure handling, etc.
The larger the diaphragm, the more natural the sound is. On the other side, small-diaphragm mics are dealing with high sound pressure much better. We classify them into three groups – large, medium, and small diaphragm microphones.
Summary
Knowing how to properly mike your drum kit ahead of time will drastically improve the result. If you take a few moments ahead of time to plan out the best way to mic each drum, you can make a huge difference in terms of clarity and consistency.
But don’t worry! All the hard work is done for you with this reference guide.
Keeping in mind these tips and guidelines will ensure that your mics are placed in the best position to capture the sound of the drums. This way you can have a more consistent, reliable drum sound from one performance to another.
If done properly, placing mics at a good distance and height away from your drummer will give you an excellent balance of power and clarity. The mics will be able to pick up the most subtle of nuances, while also capturing the power of your drummer or percussionist.
You are now ready to go into your next recording session with confidence knowing that your mics will sound great!