Avatar HXW PD705 – An Honest Review (With Video)
This is an honest review of the HXW PD705 (Avatar) sample pad after using it for a few weeks. This is a surprisingly good pad for its price range and in my opinion, it’s a welcome addition to the budget sample pad market.
It certainly doesn’t compare in sampling and effects features to the Roland SPD-SX, Octapad, or the Alesis Strike Multipad, but based on price here, this is like comparing apples to oranges.
Contents
Many of the basic features are included, including the ability for you to load samples via USB. You can connect it to your computer via MIDI (MIDI-to-USB and classic five-pin slots both included). You can also attach other external triggers and footswitches to it.
It’s a responsive pad. I found no crosstalk issues whatsoever with the device that I received. The pads are very sensitive.
I’ve seen some pretty mixed reviews of this pad online, and I think that some negative reviews of the pad are unnecessarily critical for an entry-level pad. I’ll give my opinion on these later in the article.
We’re going to talk about the onboard sounds as well as how the sample pad performs when we use our own samples via a USB-key and the WaveManager software which is available for Windows and Mac.
Here is our video review of the PD705:
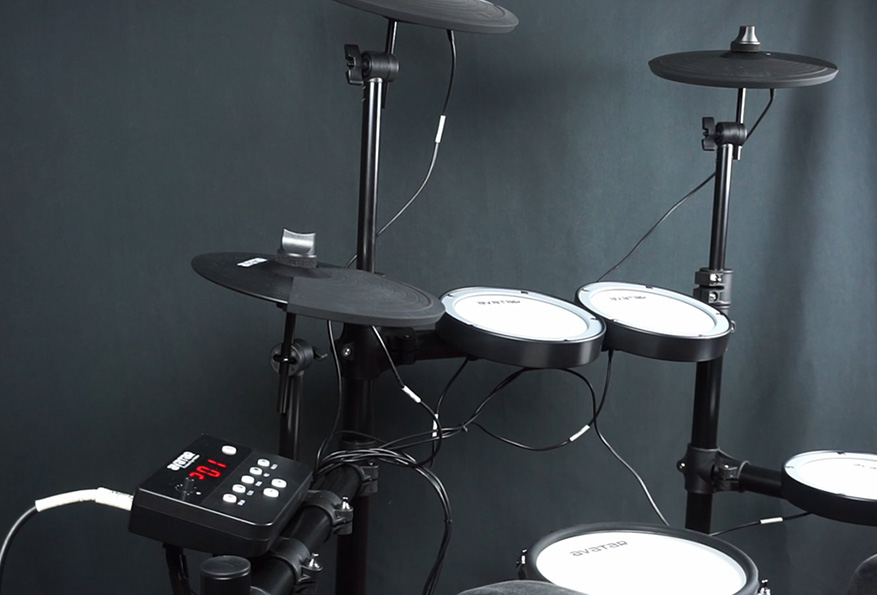
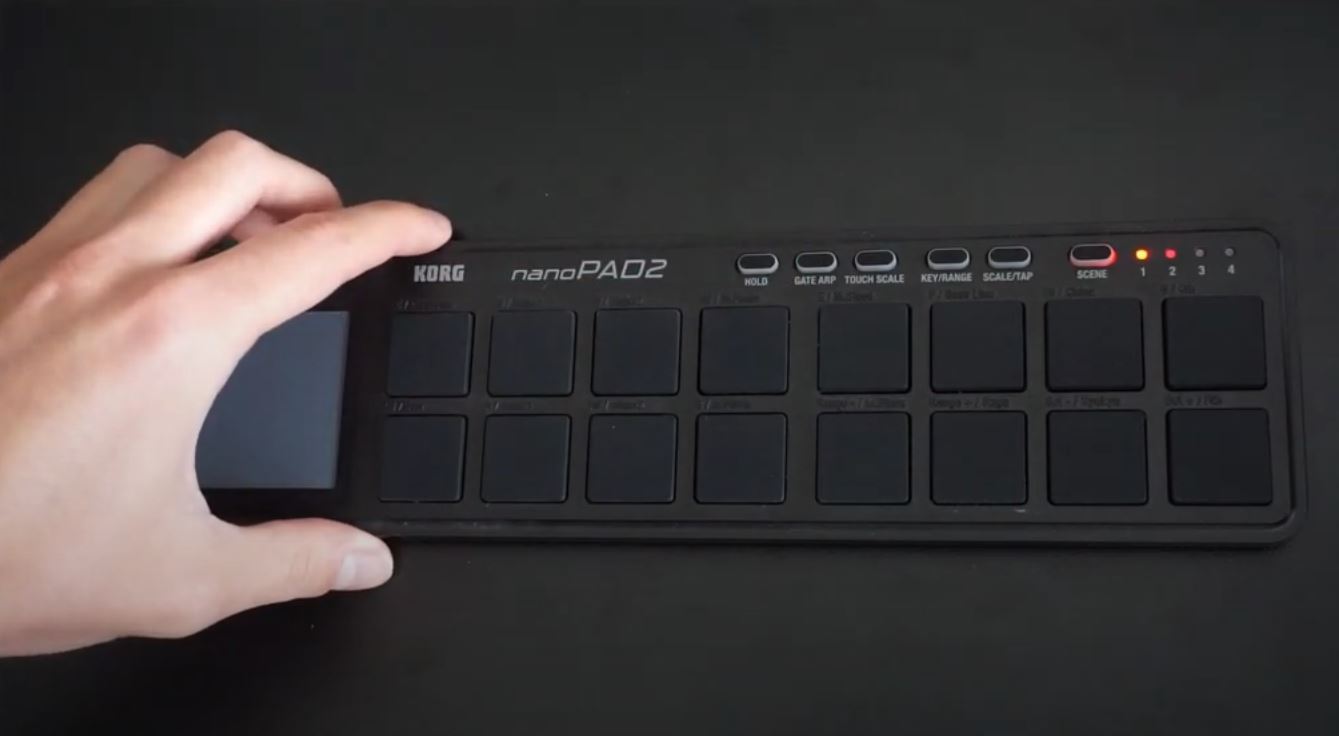
Sample Pad Design and Layout
HXW PD705 Percussion Sampling Pad

The pad looks great, and it has quite a similar layout to the Roland SPD-SX, with six main pads on the face, and three at the top that you would usually play with the shoulder of your sticks.
It has sensitive pads with no crosstalk between the pads that we could recognize, and 30 preset kits that you can quickly change between.
They’re sensitive to different velocities using your drumsticks. They also even touch-sensitive using your fingers if you strike them with any reasonable velocity.
It does not have the same type of interactive features that higher-end models has. I also found the Select, OK and Up/Down buttons a bit counter-intuitive to use at first, but I got the hang of it after a few minutes.
The LED screen, buttons and knobs allow you to control all of the essential features, such as:
- Switch switching between kits
- Customizing what sounds and samples that you want on each kit
- Changing pad sensitivity, volume, and panning
- Assigning recordings of drum loops to specific pads
- Altering effects
- Tweaking advanced settings
- Edit MIDI settings
- …and more
The buttons on the pad are also glow-in-the-dark, which is very useful when playing in conditions with low light.
Inputs and Outputs
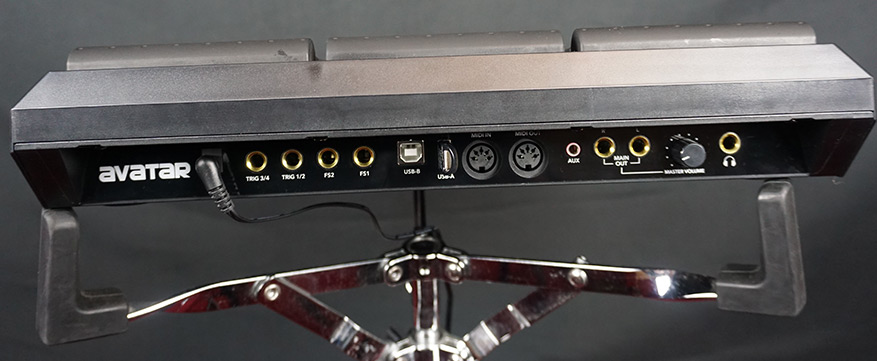
At the back, you have a DC input for the power cable to power the device. There are then four inputs:
- Two dual inputs for external triggers (kick pad, cymbal pad, etc). You can connect up to 4 external triggers here, but you’ll need to get a splitter if you want to connect more than 2.
- Two footswitch inputs:
And there are two audio outputs (Right and Left) where you can output the sound from the sample pad to an external amplifier or PA system. You can use both the Right and Left outputs for a stereo signal, or just the Left output for a Mono signal.
There are two USB slots
- There’s a USB-B slot, which can be used to connect to your computer for MIDI control. You can use this trigger drum sample or drum VST libraries from a DAW on your computer.
- The USB A slot is used to load samples, as well as to update the firmware on the device.
There are also classic 5-pin MIDI in and out ports as an alternative way to connect to MIDI devices.
You can connect an auxiliary cable to the aux slot to play music from an external music player like music streamed from your phone. There is no volume control of this so you need to control the via the actual source.
On-board Sounds
I was pleasantly surprised at both the quality and diversity of different samples that are already inbuilt in this device. One of my favorite kits is the venue kit because it sounds quite realistic and you can play some nice, real-sounding drum beats to it.
These include different types of drum kits from more live-sounding samples to tighter compressed drums, to drum sounds that would be more suitable to specific genres, such as pop, trap, metal, and hip hop kits.
There are also percussion kits, such as the ‘all percussion’, ‘Cajon’, and ‘tribal kits’, as well as other effect kits which could be very useful for sound FX uses.
There are some very cool classic drum machine sounds in there too.
Loading Your Own Samples
Even though I took a bit of figure it out, loading samples worked pretty seamlessly for me. Once they’re loaded for the device, then switching between kits is very fast, which is a big plus for a budget sample pad.
To load your own samples, you need to download the WAV manager application from the HXW website, which works for both windows and Mac.
![]()
I needed to read the instruction manual to figure out how to load out custom samples via the USB kit.
- Add samples to the application using the ‘sound list’ section
- Drag those samples to the pad you want.
- Click the Run button and then this will generate a file. A dialog box will show up which show the location of the file.
- Navigate to this location on your computer to find the file.
- Copy this file to the root of a USB key.
- Put the USB key into the back of the USB, a slot in the sample pouch.
- Then you need to follow the instructions as per the user manual. Press the Setup and OK button together, and then go to the load menu.
- Press the OK button, this loads the user samples.
- User kits come after the preset ones on the device. Your first user kit will be kit 31.
Recording Your Playing
The recording features are very basic but it can get the job done.
The record button allows you to record your playing, and you can later then assign that recording to a specific pad, which will allow you to loop it.
Pressing the record button to get it ready for recording. Press it again to start recording. The click can come on automatically at the start, and then you can turn that off whenever you’d like by pressing the click button.
When you’re finished recording you can just press the stop button.
This will then show up with the name of the MIDI file on the device, which you can then assign to a specific pad in the LOOP section, which we will talk about next.
Playing Loops
The LOOP feature allows you to assign previously recorded drum loops to pads on your device. You can then assign that recording to a particular pad you can switch the recording on and off at any time.
You cannot live loop on the fly like you can do with phrase looping on the Roland Octapad.
With this device, before you play a live set, you could prepare a few loops via the record functionality. You could assign those to certain pads and then enable and disable those loops by hitting those pads with your drumstick. We’ll talk about that more in the next loop section.
Click Track/Metronome
The metronome feature is very easy to switch on and off, which is great to see.
You can easily turn on and off the metronome by pressing on the ‘Click’ button. You can change the tempo using the wheel, which is very easy to do.
You can also change the click metronome sound to multiple different sound groups. This is handy if you do not like the stock click sound.
You can also change the type of beat. You can change the number of beats in a bar, the particular rhythm of the click, as well as of course the volume and panning for the metronome.
Effects
There are three basic effects included in the device which is controlled using the EFFECT section.
This is probably the area where the sample pad is lacking the most. You can’t really manipulate effects on the fly and the ones that are included are very basic.
EQ
This is a 3-band EQ, which allows you to alter the high, lows and mids plus or minus 12 decibels. This works as expected and is easy to use.
If you want to get more high or low end from your samples, then you can use this
Reverb
There are three different types of reverb that you can apply: room, studio, and stage.
In my opinion, Room is the most usable one and is probably the one that I would recommend to use most.
Studio on stage ones are much wetter reverbs and are quite heavy on the effects, although if you’re going for some interesting effects and these could work pretty well.
Limiter
There’s also a limiter tool in the effects section, which you can switch on and off. This will allow you to define the max threshold decibels, that will be output from the device.
Reviews of the PD705
I’ve decided to chime in with some of my observations based on some other comments I’ve spotted online about this pad. Keep in mind, this reflects my experience only!
Note: The first thing I did when turning this on was to update the firmware of the device via a USB key (more on that below). From experience I recommend doing this, these types of updates can fix some issues with gear (though of course not hardware related issues).
I noticed somebody complaining about a lack of USB cable. They often do not come with these kind of devices that are not USB bus powered. I’ve purchased gear for a lot of money that doesn’t come with a USB cable.
Somebody complained about crosstalk issues and said that it’s easy to hit the side of one pad, which would trigger another one. I didn’t come across this issue at all. However, I can’t speak for the other users of this, perhaps there were issues with their device.
Also, there was a complaint about a lack of wave editor within the device. Again, this is a simple pad, you’re getting this at a budget price. At this price range, I think it’s acceptable for you to edit the files on your computer.
You can’t really compare this pad against the Roland SPD-SX or Alesis Strike Multipad. This is a budget pad, which does the job very well. If you want to have high-end options, then go and spend the bigger money.
Firmware Updates
If you want to get the best performance from your device and it’s recommended to update the firmware to the most recent version. Go to the HXW website and check what the current version is to download the file.
You will need to place the file on the root of a USB key, then put it into the USB-A slot. Then follow the instructions in the firmware download
Summary
This is a very respectable sample pad for those on a budget. If you’re looking for some alternatives, check out our article on the best electronic drum pads.
If you’re looking for something basic and functional without spending a large amount of money in the process then the HXW PD705 is certainly worth considering.


I’m going to assume it’s my Amazon review of this product you referenced at multiple points here. Maybe you were more fortunate than me and didn’t receive a pad that had issues, or maybe you were paid to write this review by the manufacturer. In either case, you seem to be lightly implying that and that I had unrealistic expectations for the device and that I don’t know what I’m talking about in my review, which I don’t appreciate.
Expecting something as basic as a USB cable is not unrealistic. Any piece of gear at this price range that supports MIDI protocol should include a USB cable. I don’t know what world you live in, but your claim that “they often do not come with these kinds of devices” is not accurate. In regards to crosstalking, initially my pad had glaring issues. Since running a firmware update, these issues have been reduced substantially.
If you’re going to review a product, at least do others the courtesy of not throwing shade on their reviews based on their own experience.
Hi, Thanks for your message.
Electronic drum gear that is USB-BUS powered always has to include a USB cable (because it couldn’t function otherwise). Gear that can act as a stand-alone device and is separately-powered certainly does not always include a USB cable. I’m sure of that, and I live in the world of e-drums. Should they include it? Yeah, I agree with you, but I’m talking about this in comparison to other gear.
Btw – I certainly was NOT paid to write this review by HXW!!!
About the cross-talk issue, I already wrote in the article, “However, I can’t speak for the other users of this, perhaps there were issues with their device.”. I’m not dissing your experience, I’m giving my opinion on that topic from my experience of using the device. Perhaps the manufacturer is not releasing consistent models for this.
Point taken though – if giving my opinion on other reviews I’ll clearly note that this is my opinion and my not reflect the experience of other users (I’ll update the text in this article also)
Cheers,