How To: Trigger Samples, Map MIDI, and Sync MIDI With the Roland Octapad SPD-30
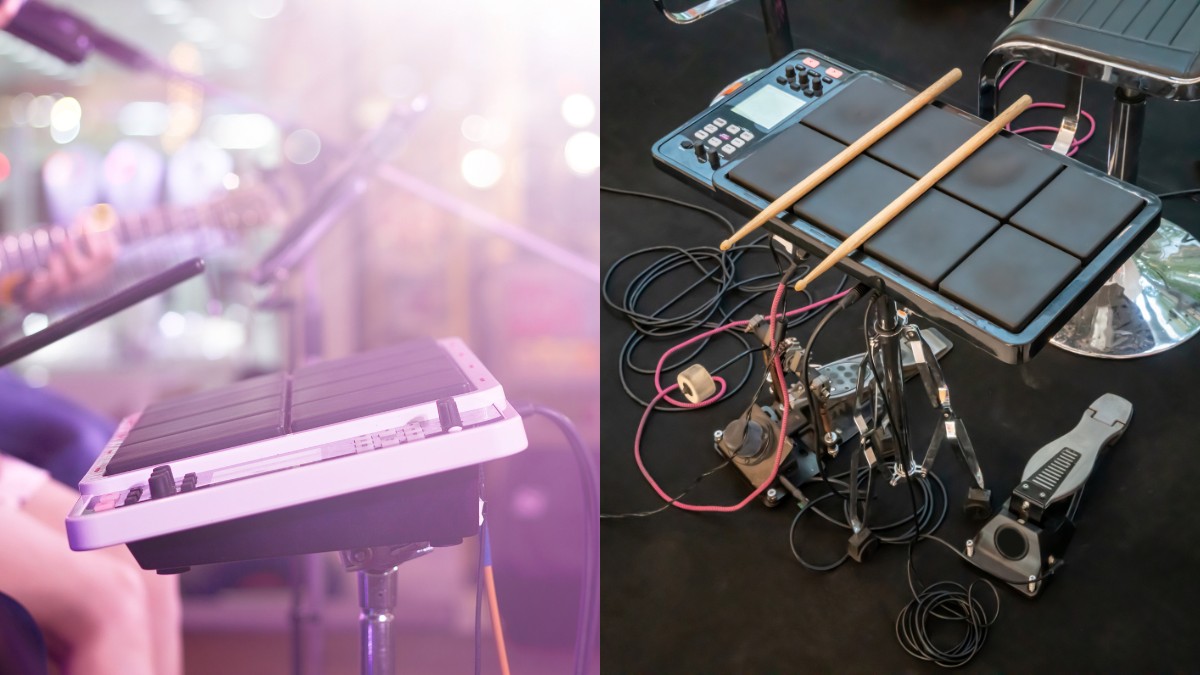
The Roland Octapad SPD-30 is a high-end, professional percussion controller with velocity-sensitive pads that is great for triggering samples and has excellent MIDI mapping. In order to get the most out of it, some practice and understanding are required.
This article is just a short how-to to help you understand how to use your Roland Octapad SPD-30 to trigger samples, map MIDI to almost any feature in your DAW, and sync the onboard clock for perfectly timed phrase looping. I’ve been asked this question quite a few times so I think it’s time to clear it up!
Note: The Roland Octapad SPD-30 does not allow for the internal storage of custom samples. If you want to use the Roland Octapad as a standalone device then you can only use onboard sounds.
However, you can externally trigger the custom samples via MIDI. In this example, I’m going to use a laptop to trigger the custom samples.
Note: If you really want to trigger custom samples as part of a standalone unit then check out the Roland SPD-SX instead.
Contents
Cables Required
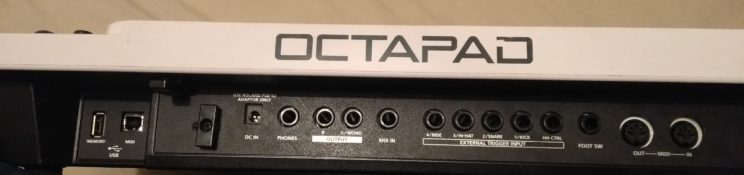
I recommend using the USB MIDI connection on the Back LEFT of the Octapad – for this, you will need a USB Type A to USB Type B cable and connect it straight to your computer.
Alternatively, you can use the MIDI OUT and get a MIDI-to-USB converter which can be connected straight to your computer.
I’m going to use the first method in this example:
Connecting the Octapad to a Computer DAW
A DAW (Digital audio workstation) is what music makers use to record, mix, arrange, and master music. Ableton Live is a perfect one to use for this. You can download Ableton Live Lite for free, which includes drum racks.
Example: Triggering an Ableton Drum Rack with your Octapad
- Connect the USB MIDI cable to your computer
- Your computer should automatically recognize the Octapad (if you are using windows, and it does not work then check your drivers)
- Open up your DAW (Ableton Live in this case)
- Go to the preferences screen -> Link MIDI and find Input: Roland SPD (or similar option)
- Ensure that Track, Sync, and Remote are marked as on (Track allows it to send and receive MIDI notes, Sync allows it to sync its metronome, and Remote allows it to create MIDI mappings)
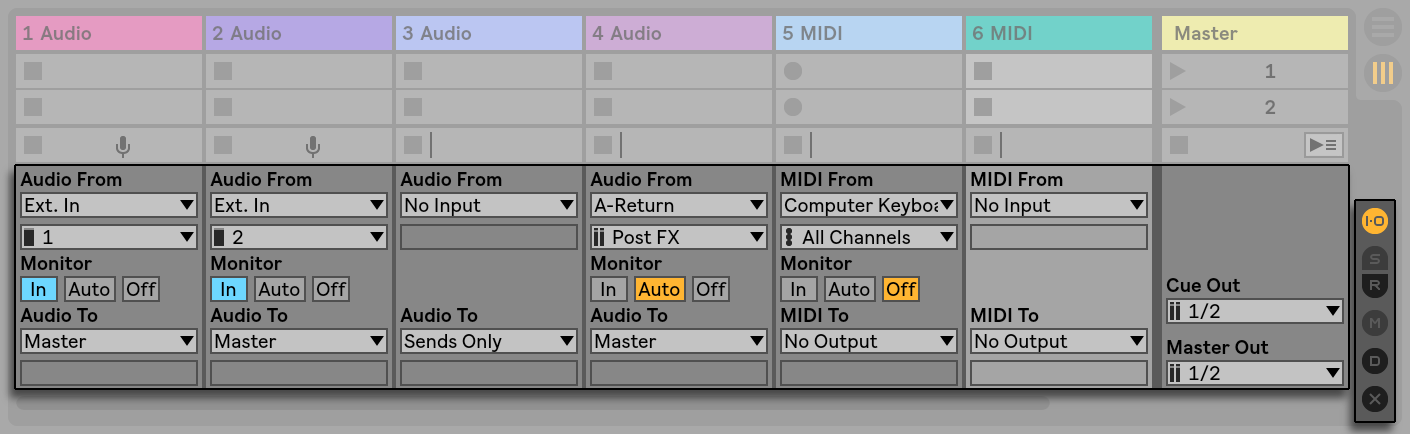
- Create a MIDI track and set the ‘MIDI From’ input to ‘Roland SPD’ or a similar option.
- Change the Monitor to ‘In’ (Or change the monitor to ‘Auto’ and arm the record button on the track).

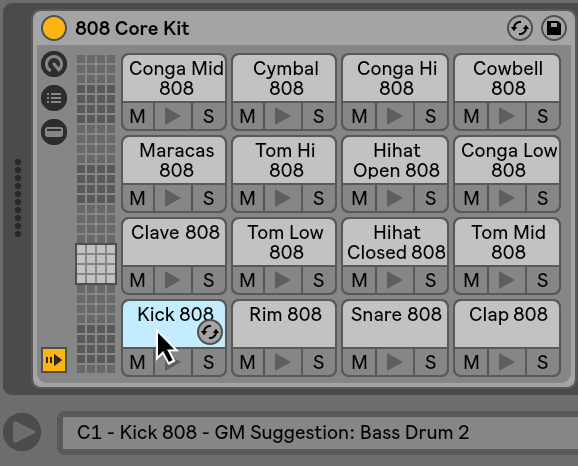
- Drag a drum rack onto your MIDI channel
- Each of the samples on your drum rack corresponds to a note that you can trigger via midi. For example, the kick in the example above is a C1 note.
- On your Octapad, go to your first kit and click MIDI > MIDI > Note
- Change the values of each of the pads (using the right two knobs on your Octapad) so that they correspond to the notes that you want to trigger on your drum rack in Ableton. Please note that some pads may be set as triggering different samples depending on the velocity at which you strike the pad, if so, you could just map both of these to the same MIDI note. It can be a bit tedious at first to get this right. Once you get the hang of it, you’ll be able to switch MIDI notes for kits very quickly whenever you need to.
- Hitting your Octapad should now trigger your drum rack (If you can’t hear anything: Make sure the track is enabled, volume is on, master volume is on, and no tracks are soloed. If you’re unsure if the MIDI signal is reaching Ableton, check if a little yellow icon is flashing up with your MIDI hits at the top right corner of the screen next to the D button).
Example: Using MIDI Map functions
Instead of triggering a drum rack, you could also map any of your pads to practically any function you want within your DAW.
Note: The ‘Remote’ option must be switched on in your Ableton Preferences -> Link MIDI for this to work.
For example, in Ableton Live:
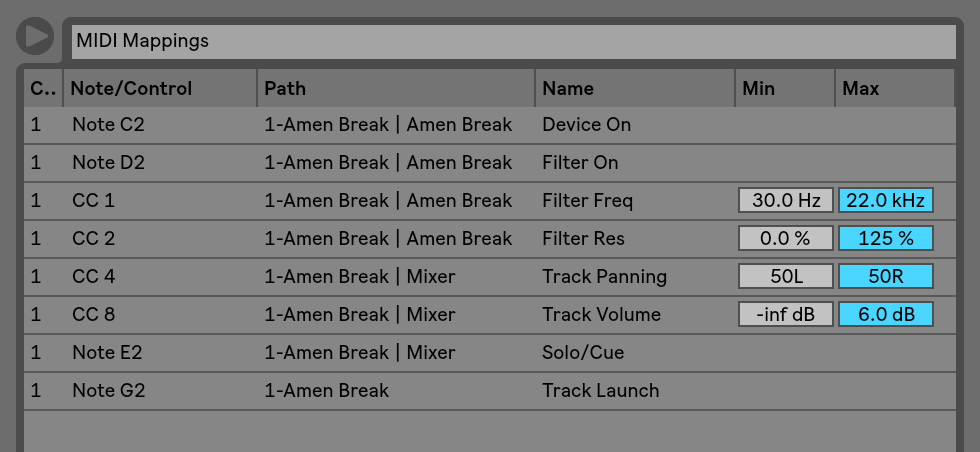
- Click on the ‘MIDI’ button at the top right of the screen. The MIDI mappings panel will show up on the left-hand side of the screen.
- You can then map your pad with any many functions in the DAW by clicking on the panel/knob/button within Ableton and also physically hitting your Octapad. If successful, you will see a new row appear in the MIDI mappings.
This video explains MIDI mapping in more detail:
Example: Syncing Metronome with Octapad Phrase Looping
Note: The ‘sync’ option must be switched on in your Ableton Preferences -> Link MIDI for this to work.
- Go to the Octapad Menu
- Go to System
- Go to the MIDI tab
- Change the MIDI Sync to USB
- Connect the USB to your computer
- Turn your Octapad Off and On if it’s not getting recognized
- Start a phrase loop on your Octapad. The Metronome timing should say ‘USB’ instead of showing up a specific BPM. If you see a number for the BPM, then the midi sync is not working.
Conclusion
In addition to having velocity-sensitive pads, the Roland Octapad SPD-30 has excellent MIDI mapping and is a well-designed, high-end percussion controller. This article explains two possible ways that you can trigger samples and other features within your DAW using your Roland Octapad SPD-30.
Check out our article on recording electronic drums if you would like to find out more about the Audio and midi recording options for e-drums. If you’re on the lookout for an electronic drum pad then check out our detailed guide on that.