15 Tips to Improve Your Drum Programming – MIDI Drums
Drum programming may be a challenging part of music production for some individuals. Getting the drums to appear realistic as if they were performed by a real drummer, is difficult. But fear not, it is possible to do so with MIDI drums.
Do you feel like your drum tracks don’t compare against others in your genre? Are your drums sounding flat or overly metronomic? Do they feel unoriginal or lacking in ideas?
These are all very common issues that music producers face. In this article, we’re going to go through 15 tips to bring your beats to the next level.
Many of these tips can be worked on straight away so let’s get started now!
Contents
- At a Glance
- 1. Record Your Beats Using MIDI
- 2. Study the Common Drum Beats for Your Style of Music
- 3. Should You Quantize?
- 4. Alter Velocity or Use Swing & Groove Features
- 5. Use Quality Drum Samples and Plugins
- 6. Try Making Your Drums Sound More Organic
- 7. Bring out the Top-end of Your Kick
- 8. Tune Your Drums!
- 9. Use Sidechain Compression
- 10. Reference Against Other Tracks
- 11. Use Compression
- 12. Use Saturation
- 13. Carve Your Sound Using EQ
- 14. Automation is Your Friend
- 15. Get Some Feedback From a Friend
- Summary
At a Glance
- The most effective and simple changes you can make to improve your drum programming involve tuning your drums (before anything else), studying the common drum beat for your style, and referencing against other tracks.
- Use quality drum samples and plugins for the best result and don’t be afraid to carve your sound using EQ.
- Record your beats using MIDI for extra dynamics and accuracy or even try making your drum beats more organic like Jon Hopkins, for example, who creates much of his beats using recordings of his own voice and beatboxing.
- Further sound-shaping can involve quantizing, utilizing sidechain compression, and bringing out the top end of your kick.
- Naturally, you can use saturation, compression, and even the automation capabilities of your DAW.
- Lastly, get some feedback from a friend as it’s easy to lose track and sense when working on a particular track for a prolonged period.
1. Record Your Beats Using MIDI

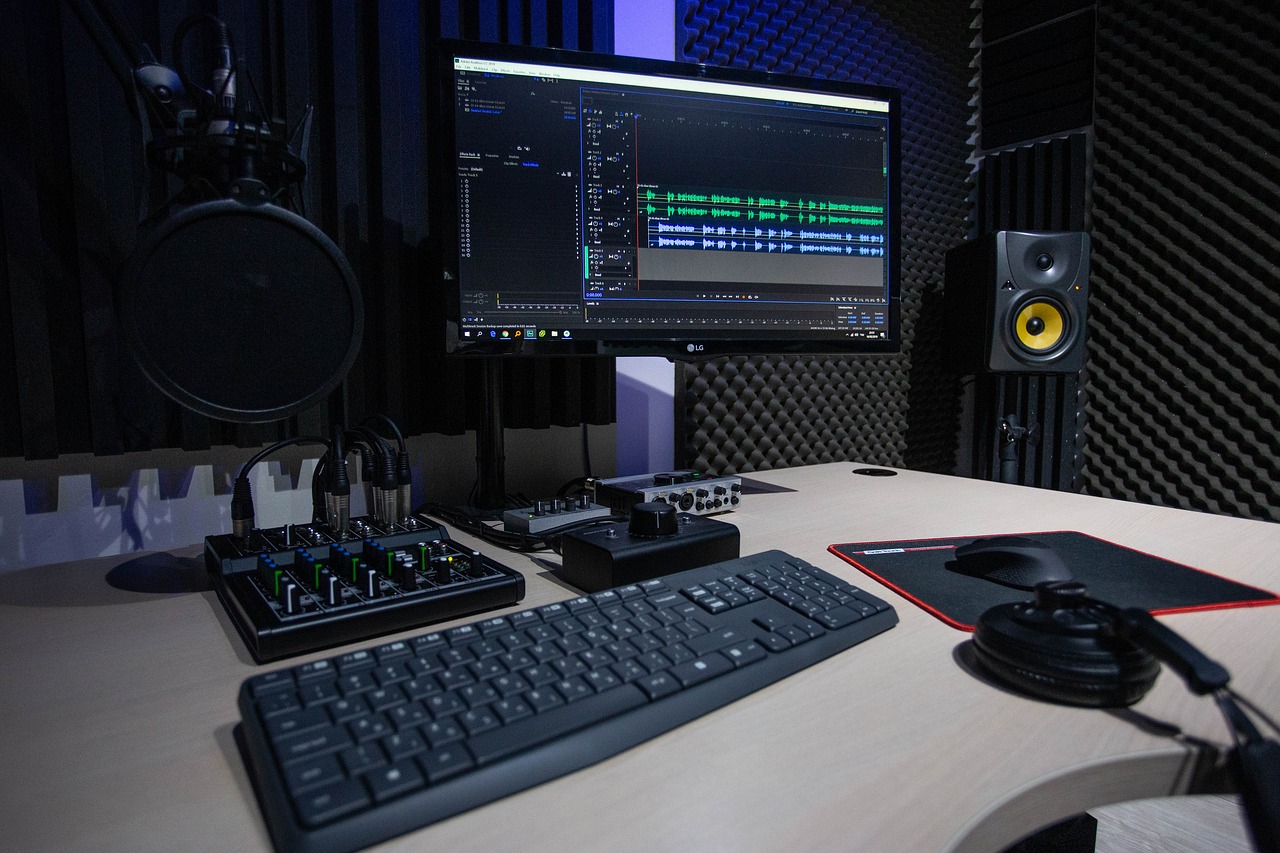
![]() It’s very possible to sequence drum beats on your DAW with a mouse and keyboard, but using MIDI drum pads or electronic drum pads can add a bit of extra life to your beats.
It’s very possible to sequence drum beats on your DAW with a mouse and keyboard, but using MIDI drum pads or electronic drum pads can add a bit of extra life to your beats.
If you have some decent rhythm, you can create new and interesting beats that you might have otherwise missed out on.
Most electronic drum sets include a MIDI option, which you can connect directly to your computer and start recording tracks. Otherwise, something simple and cheap such as a Korg NanoPad is a great option.
Using MIDI drum pads brings two distinct advantages to your drum MIDI tracks: velocity and timing. The force of your strikes can be recorded, which adds extra dynamics to your playing. Drum pads are also much easier to accurately hit in time compared to a keyboard.
2. Study the Common Drum Beats for Your Style of Music
The type of music you’re playing often has a signature type of drum sound. This might be something that fans will expect to hear.
For example, house music on a basic level often has a classic kick sound on every beat, a hi-hat sound evenly between all of these (on the ‘and’ of the beat).
Understand the de-facto ‘rules’ for beats of your genre, and then decide if you want to break them or not! Making slight changes to the common beats of your genre can actually still come out with an original sound, so they are not a bad place to start.
I was going to create an infographic explaining different drum patterns, then I spotted this fantastic video. It’s definitely worth watching:
3. Should You Quantize?
Quantizing is a way to get the perfect sound. The procedure of quantization allows you to modify recorded musical notes and make them as accurate as conceivable.
You can ‘quantize’ your MIDI to a grid so the timing is absolutely perfect. Though, think carefully about doing this. Bringing your beats to life might also involve adding a human element to the and allowing for slight imperfections in the sound.
4. Alter Velocity or Use Swing & Groove Features
You can manually change the velocity of the MIDI notes to add a bit more realism to the playing.
Some DAWs also have a ‘swing’ feature which allows for automatic and random fluctuations of the timing and velocity. It might sound like a bad thing to intentionally make the sound less ‘perfect’, though perfect consistency in music can often make it sound very robotic.
This tutorial below shows you how to use groove and swing features in Ableton Live 10.
5. Use Quality Drum Samples and Plugins
Some well-produced, royalty-free drum samples might sound perfect for your track. Perhaps you rather use your time saved to focus on other parts of your track such as the vocals, arrangement, melody, mixing, and mastering.
The use of drum samples and presets is a topic that music producers will probably always remain divided on. It’s totally a matter of preference. If you want to use them, then go ahead. However, make sure to use drum samples that you have a license for, otherwise, you could get in trouble later on. The last thing you want after a successful release is to have to engage in a legal battle or claim against your royalties.
Many great drum plugins are dedicated to helping you carve out a fantastic drum sound. Check out our article on the best drum VSTs for more information.
6. Try Making Your Drums Sound More Organic
Jon Hopkins, a modern-day legend of electronic music, creates much of his beats using recordings of his own voice and beatboxing. This makes his beats sound like almost nobody else and really helps him get away from the more generic sound that sample packs can bring.
However, you don’t need to go as far as Jon Hopkins. If you don’t want to record your own, you should still consider processing your beats in a way that makes them sound unique for your own track. We have some great tips on how to do this up ahead, so keep on reading!
Check out this tutorial by Julian Earle. It’s worth checking out his channel because he churns out top-quality tutorials on a very frequent basis:
7. Bring out the Top-end of Your Kick
The low end of your kick gives it the required umph, but the often overlooked high-end portion is a part that really makes it come out in the mix.
Make sure you represent both the low-end and high-end of your kick. You can mix two different samples together and separate the frequencies using EQ.
This will bring out the kick drum more and give it a fuller sound in order to stand out and guide the rhythm of the song.
8. Tune Your Drums!

Your drums have a tone, and this can be particularly noticeable in some kick samples. Where possible, try to match the key of your drums to the key of the song.
Most DAWs have a stock tuner plugin that can automatically detect this. Then you can either tune the drum samples you are using or search for drum samples in the required key.
Nevertheless, tuning is an important part that can make a huge difference. An out-of-tune instrument or track is unpleasant, to say the least.
9. Use Sidechain Compression
Consider using sidechain compression on your other tracks to duck down the sound when the kick is being played. This helps to bring out the kick sound for much more punch.
Check out this great tutorial from the immensely useful Point Blank Music School:
10. Reference Against Other Tracks
During the mixing process, you should compare your drum track against other well-produced tracks in the same genre.
When focusing on the mixing process, you might hone in and start second-guessing certain decisions. For example, you might feel like the hi-hat is too loud, but it might actually be much lower in volume against commercial releases.
Particularly for beginners, it’s very difficult to mix music without a reference track. Early on in my career, referencing against other tracks helped me notice that my hi-hats were always lacking in the hi-end, my snare didn’t have enough punch, and my kick was not coming through well in the mix.
Mixing against commercial releases might make us feel a bit inferior at the start, but you must set the bar high if you want to be a great producer.
Your drums will likely not be listened to in isolation within the track. Try to take a step back and mix your drums within the context of the overall song.
It’s also worth throwing a general mastering chain on your track to try to get an idea of what the song will sound like when the volume is brought up to commercial levels (Can be referred to as a pseudo-master.
Though your song will sound much better when you put more time into mastering, or preferably, after sending it to a great mastering engineer).
Heavy use of limiters can take away some of the transients out of your big hits, so your drums might not have as much punch. Take this into account during the mixing process and be careful when mastering.
11. Use Compression
Compression can make your drums sound much more punchy, and help mix them together. Though, it’s easy to over-compress drum tracks (which might not be the sound you’re going for). Compress your tracks to the point that you can hear it, then dial it back a bit!
Think about compressing and processing your beats as individual drum tracks. You can get a lot more out of your drum beats by processing each of the tracks differently.
For example, in this Rudimental deconstruction, this producer heavily compresses his drum tracks on an individual basis and then blends them all together using a glue compressor. Another great tutorial from Point Blank:
12. Use Saturation
Saturation is a great tool that’s often overlooked. It can make your track sound a lot less digital while adding a ton of punch.
It’s very easy to go overboard on saturation. It’s a matter of preference, but as it goes for most effects, I recommend bringing it up to the point that it’s noticeable and then dialing it back a bit.
Two great free saturation plugins are the SoftTube Saturation Knob and the CamelCrusher. They are of very good quality. There’s no reason why you shouldn’t download both of them! Check out our article on the best saturation and distortion plugins to learn more.
13. Carve Your Sound Using EQ

Don’t be afraid to carve your sound using EQ. Perhaps you only need the mid and high-end of your hi-hats. In this case, duck out the low end. If you are using multiple samples together for the same purpose then don’t be afraid to separate these sounds using EQ. This can help to reduce phasing issues.
Every music producer should be well-versed in the use of EQs. We’re not going to go into it in detail here, but if you need to learn how to use them then look for some tutorials on YouTube.
14. Automation is Your Friend
Use the automation capabilities of your DAW to bring your beats to life. Automate the sound of your cutoff filter, reverb, delay effects, volume, and much more! Automating these processes can bring a whole new dimension to your sound.
Check out this drums automation tutorial below to learn more!
15. Get Some Feedback From a Friend
It’s easy to lose perspective after working on a track for a long period of time. When your track is at a decent standard, think about sending it to a fellow music producer or a friend with a good ear for music.
Consider not mentioning the drum track at all, and check if they pay attention to it positively or negatively.
Don’t take feedback to heart. It can be a vulnerable experience to send your tracks out. Though it’s better to fix issues early on than regret it after release!
Summary
Drum programming is an art form in itself. It takes great skill, knowledge, and talent to create a unique-sounding drum track that brings your song to life.
It’s difficult to convey the techniques of how to program drums on paper. I would suggest you download samples or invest some time into learning how to produce music first before attempting to mimic these techniques!
So, that concludes the 15 tips to improve your drum programming. It’s worth spending some time figuring out what really works for your style of music.